Prototyping and design under one roof: how we shape a product before it's ever made properly.
Design Development
Every product we develop in house starts the same way. Not with CAD, and not with a print. It starts with a clear idea of what the thing has to do, who it's for and what could stop it working. Get that right and everything after it moves faster. Get it wrong and you end up paying to find out later.
Below is how we run the early stages of a design. It's the same approach we use on our own products and the one we bring to yours.
When the design is ready to make in numbers, our design for manufacture guide explains how we get it production-ready, and trial batches covers user trials and hall tests.
Process
Stage 01
Know what you're solving before you solve it.
Before anyone sketches anything, we pin down the brief. Who uses it. Where. How often. What it has to survive. We list the requirements that can't move, such as standards, regulations, dimensions and cost targets, and separate them from the ones that can. We also check what's already out there, because there's no point reinventing a solution someone else has proven. A tight brief keeps the whole team pointed the same way and stops a project drifting three months in.
Stage 02
Lots of ideas, drawn quickly, judged honestly.
This is where we go wide. Pen, paper and rough concepts, sometimes dozens of them. Different shapes, different ways of holding it, different ways it might open, click or fold. None of it is precious. The aim is to get ideas out of our heads and onto the table where they can be compared side by side. Most won't survive. That's the point. The ones that do have earned their place.
Stage 03
Does the idea actually work?
Before refining anything, we test the one thing most likely to fail. A hinge. A latch. A grip. A fit. We build it quickly and crudely, often as a fast, low-cost print, and isolate it from everything else. These models aren't pretty and they're not meant to be. They answer one question at a time. If the core mechanism doesn't work here, no amount of finishing will save it later.
Stage 04
Size, weight and feel, in your hand.
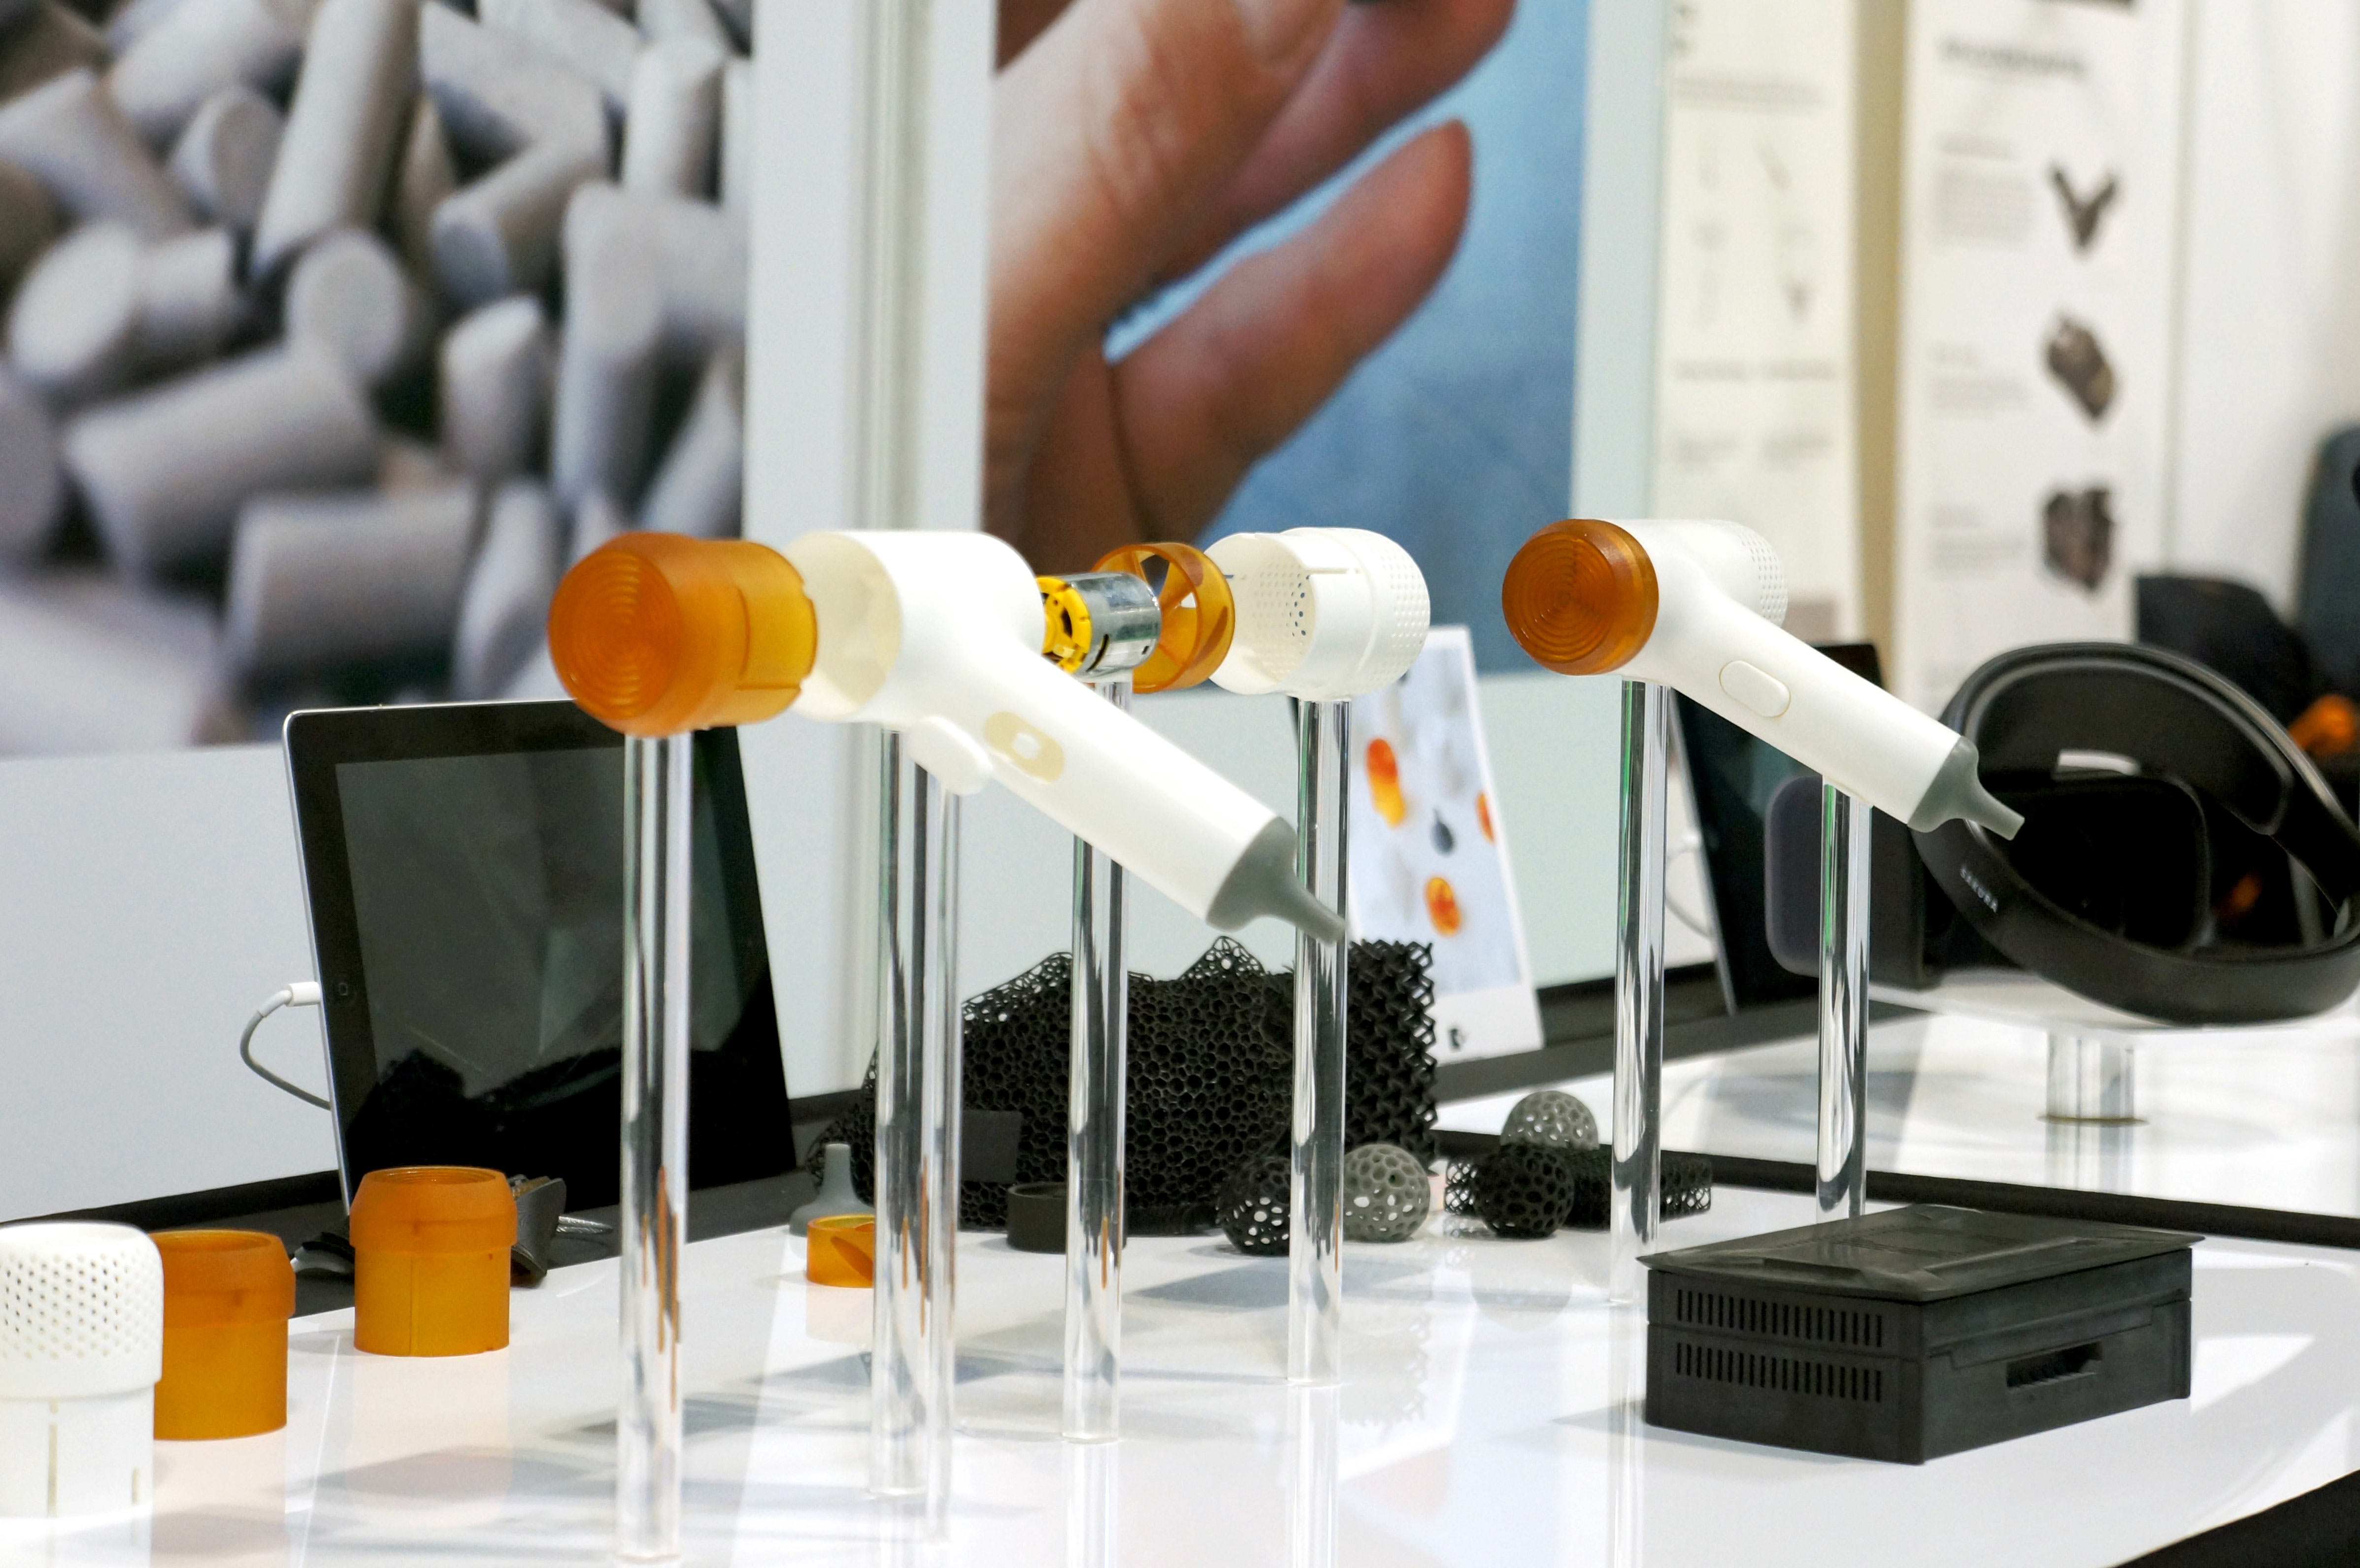
Once the principle is proven, we start building models that look and behave more like the real thing. Some are about appearance and proportion. Others are about function. Keeping them separate early on saves time, because you're not trying to perfect everything at once. This is where our in-house kit earns its keep. FDM for quick form checks. SLA, with our 24-hour standard turnaround, for crisp detail and fit. You can pick it up, hold it and decide whether it's right while the design is still easy to change.
Stage 05
Put it in front of people. Listen. Change it.
A model sitting on a desk tells you very little. So we get it into the hands of the people who'll actually use it, whether that's clinicians, engineers, customers or our own team. We watch how they pick it up, where they hesitate and what they get wrong. Then we change it and test again. Short loops, fast turnaround, honest feedback. Each round costs a little and saves a lot, because every problem found here is one that never reaches tooling.
Approach
It's tempting to build everything into the first model. We don't. We find the assumption most likely to sink the product and test that on its own. Features that aren't in question can wait. A focused model gives a clear answer. An overloaded one gives you noise.
Early on, the design will change. Often. So we match the method to the moment. Fast, low-cost prints while ideas are still moving, then higher-spec processes such as Carbon DLS, vacuum casting and CNC once the design has settled. Spending little at the start means you can afford to be wrong, change direction and try again without it hurting.
Bring us the brief, or just the problem. We'll ask the awkward questions, tell you what's realistic and help you get to a first model you can hold.